
A good backyard project should earn its footprint. The prettiest corner is not much use if it creates another chore, while the most practical addition can make a garden feel like a service yard. The sweet spot is a project that quietly solves a daily problem and looks intentional while doing it.
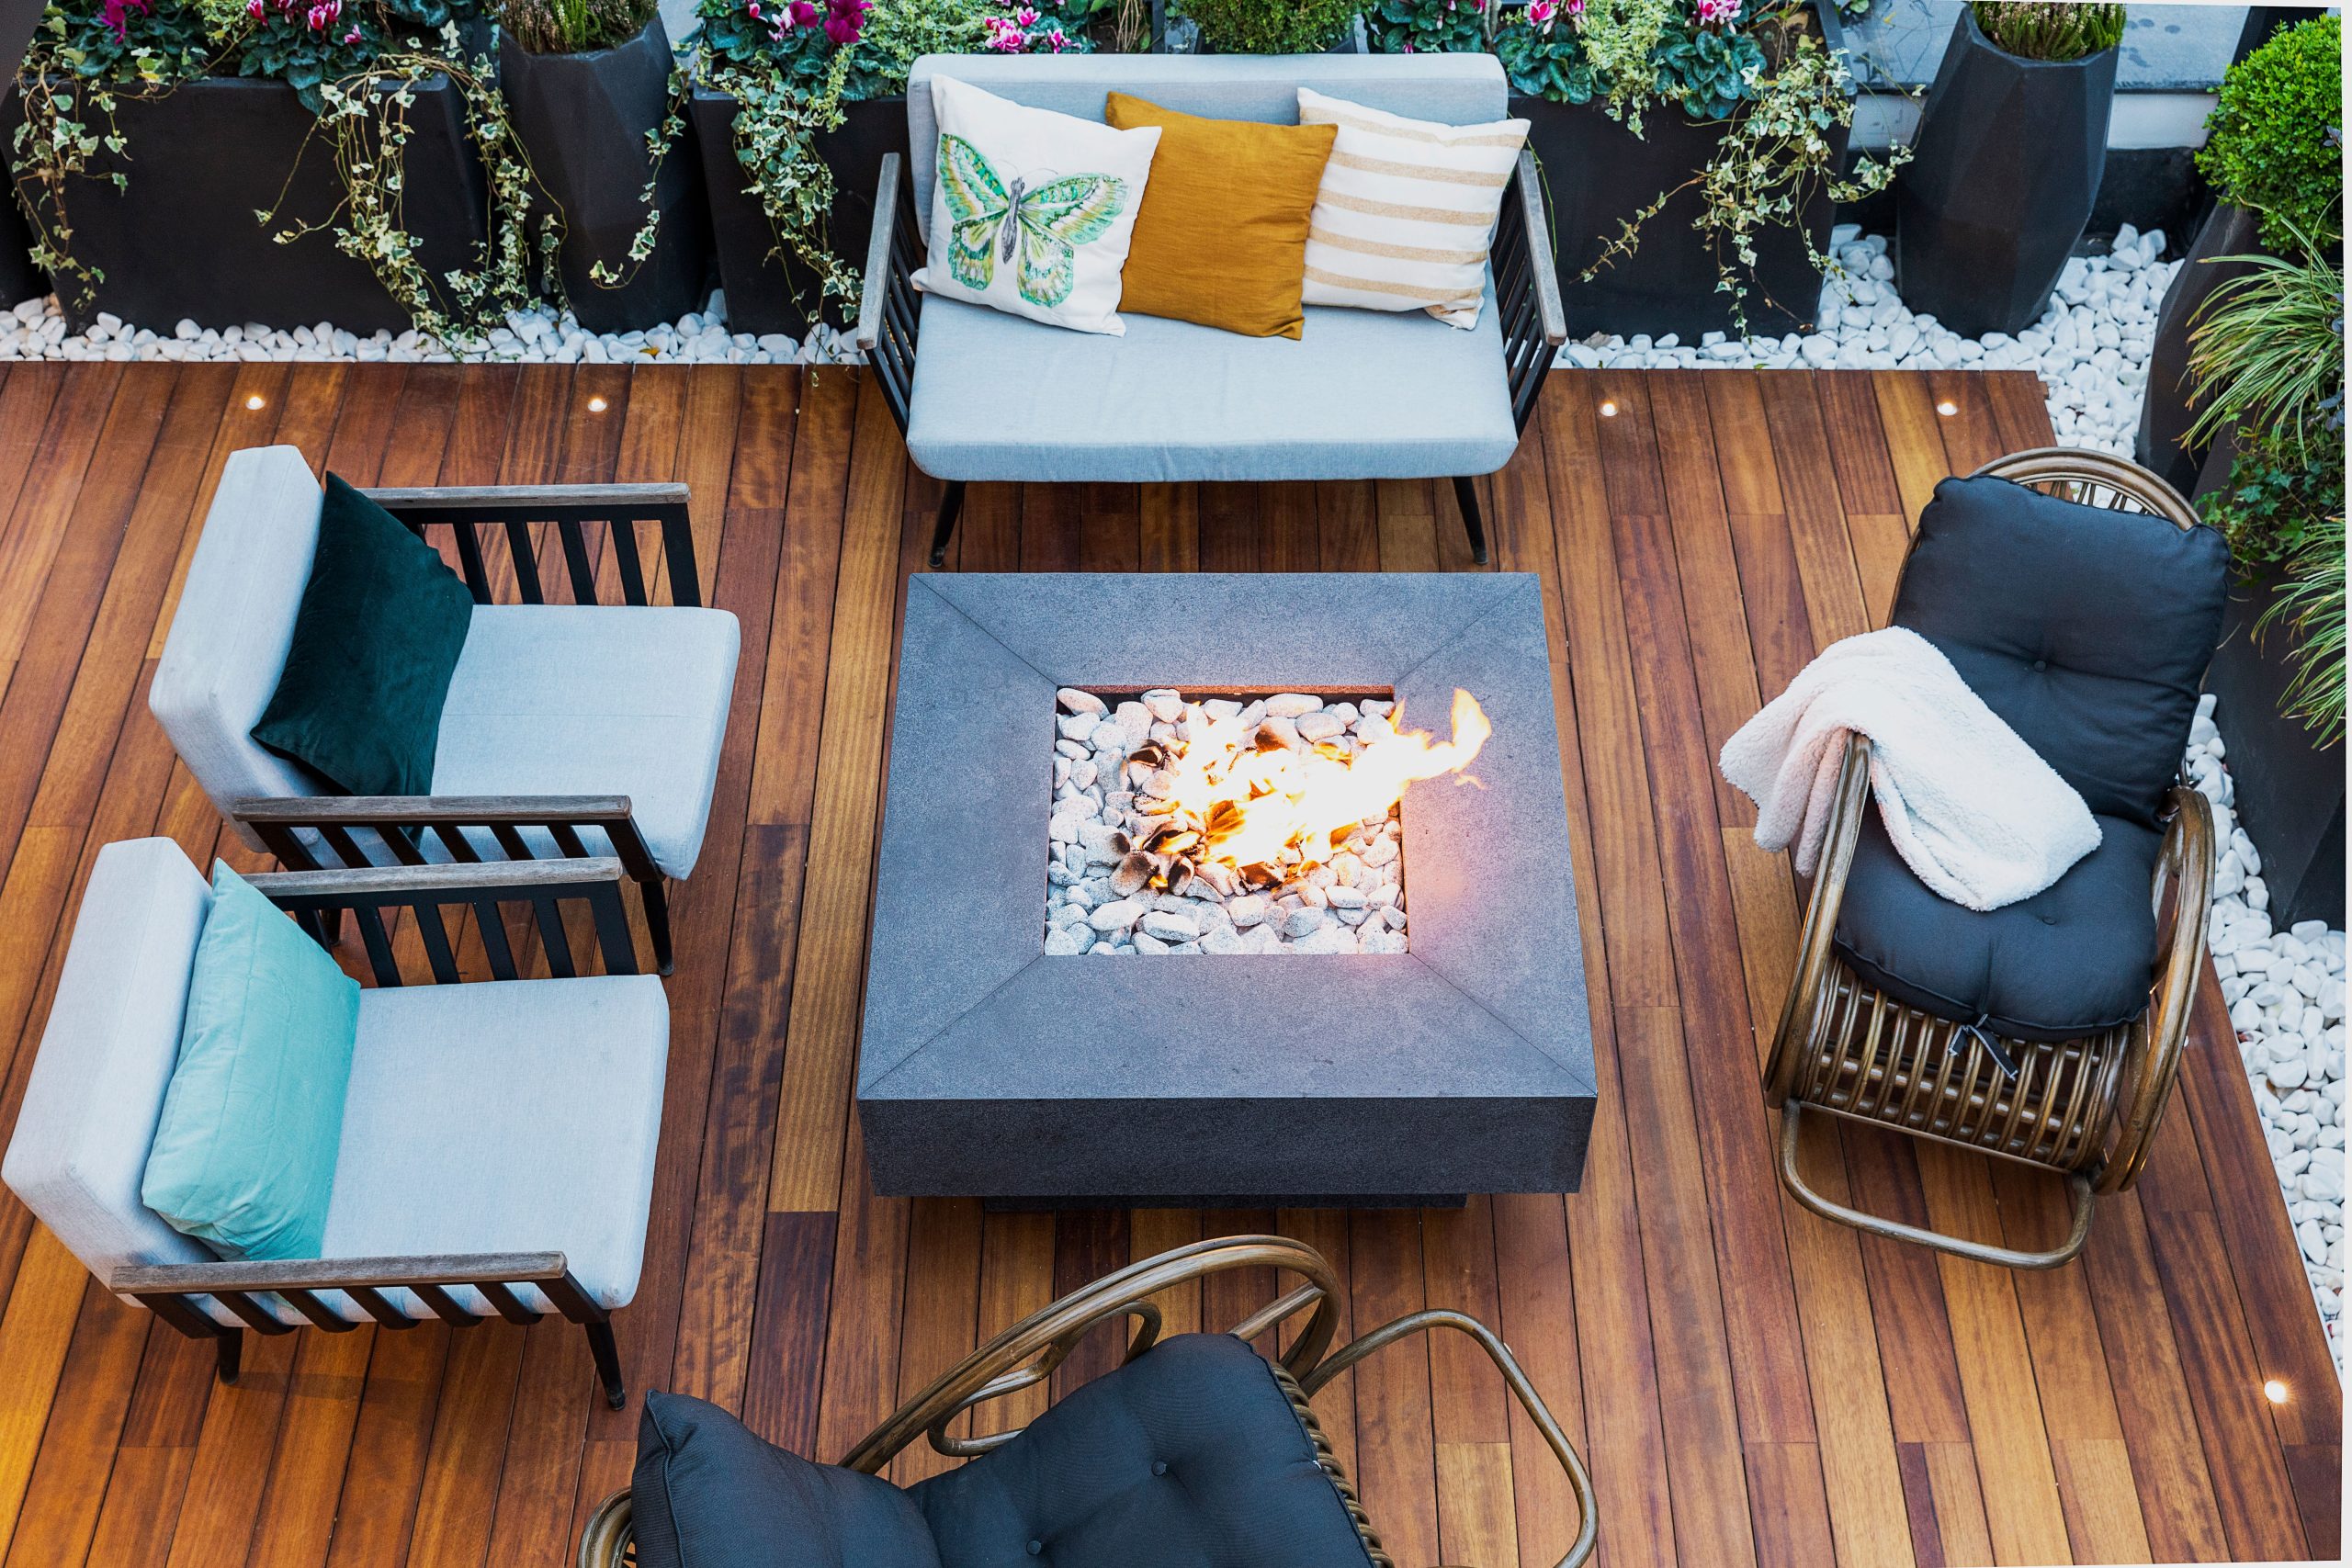
That might mean a raised bed that makes herbs easier to reach, a shaded seating area that turns an exposed patio into a place you actually use, or a compact shed that removes tools from the house. Materials matter too: a carefully planned area of decking can create a clean transition between the house and garden, but its success depends on drainage, shade, access, and how the space will be used.
This guide focuses on projects with a practical job as well as a visual identity. The aim is not to fill the yard with features. It is to make a few useful decisions that improve how the whole outdoor space works.
Start with the problem, not the trend
Before choosing a pergola, planter, path, or storage solution, watch the yard for a week. Notice where water travels after rain, where the afternoon sun makes seating uncomfortable, where tools collect, and which route people naturally take from the kitchen to the garden.
Those observations usually point to a better project than a mood board does. A wet corner may need a planted rain garden rather than more paving. A neglected patio may need shade and a surface that is easy to sweep, not a larger table. A vegetable garden may need a narrow, reachable layout before it needs decorative edging.
Five projects worth considering
1. Raised beds with a built-in working edge
Raised beds are attractive because they impose order: clear lines, defined planting zones, and a strong visual frame for vegetables or flowers. Their practical value is even better when the layout reduces bending, protects soil from foot traffic, and makes watering predictable.
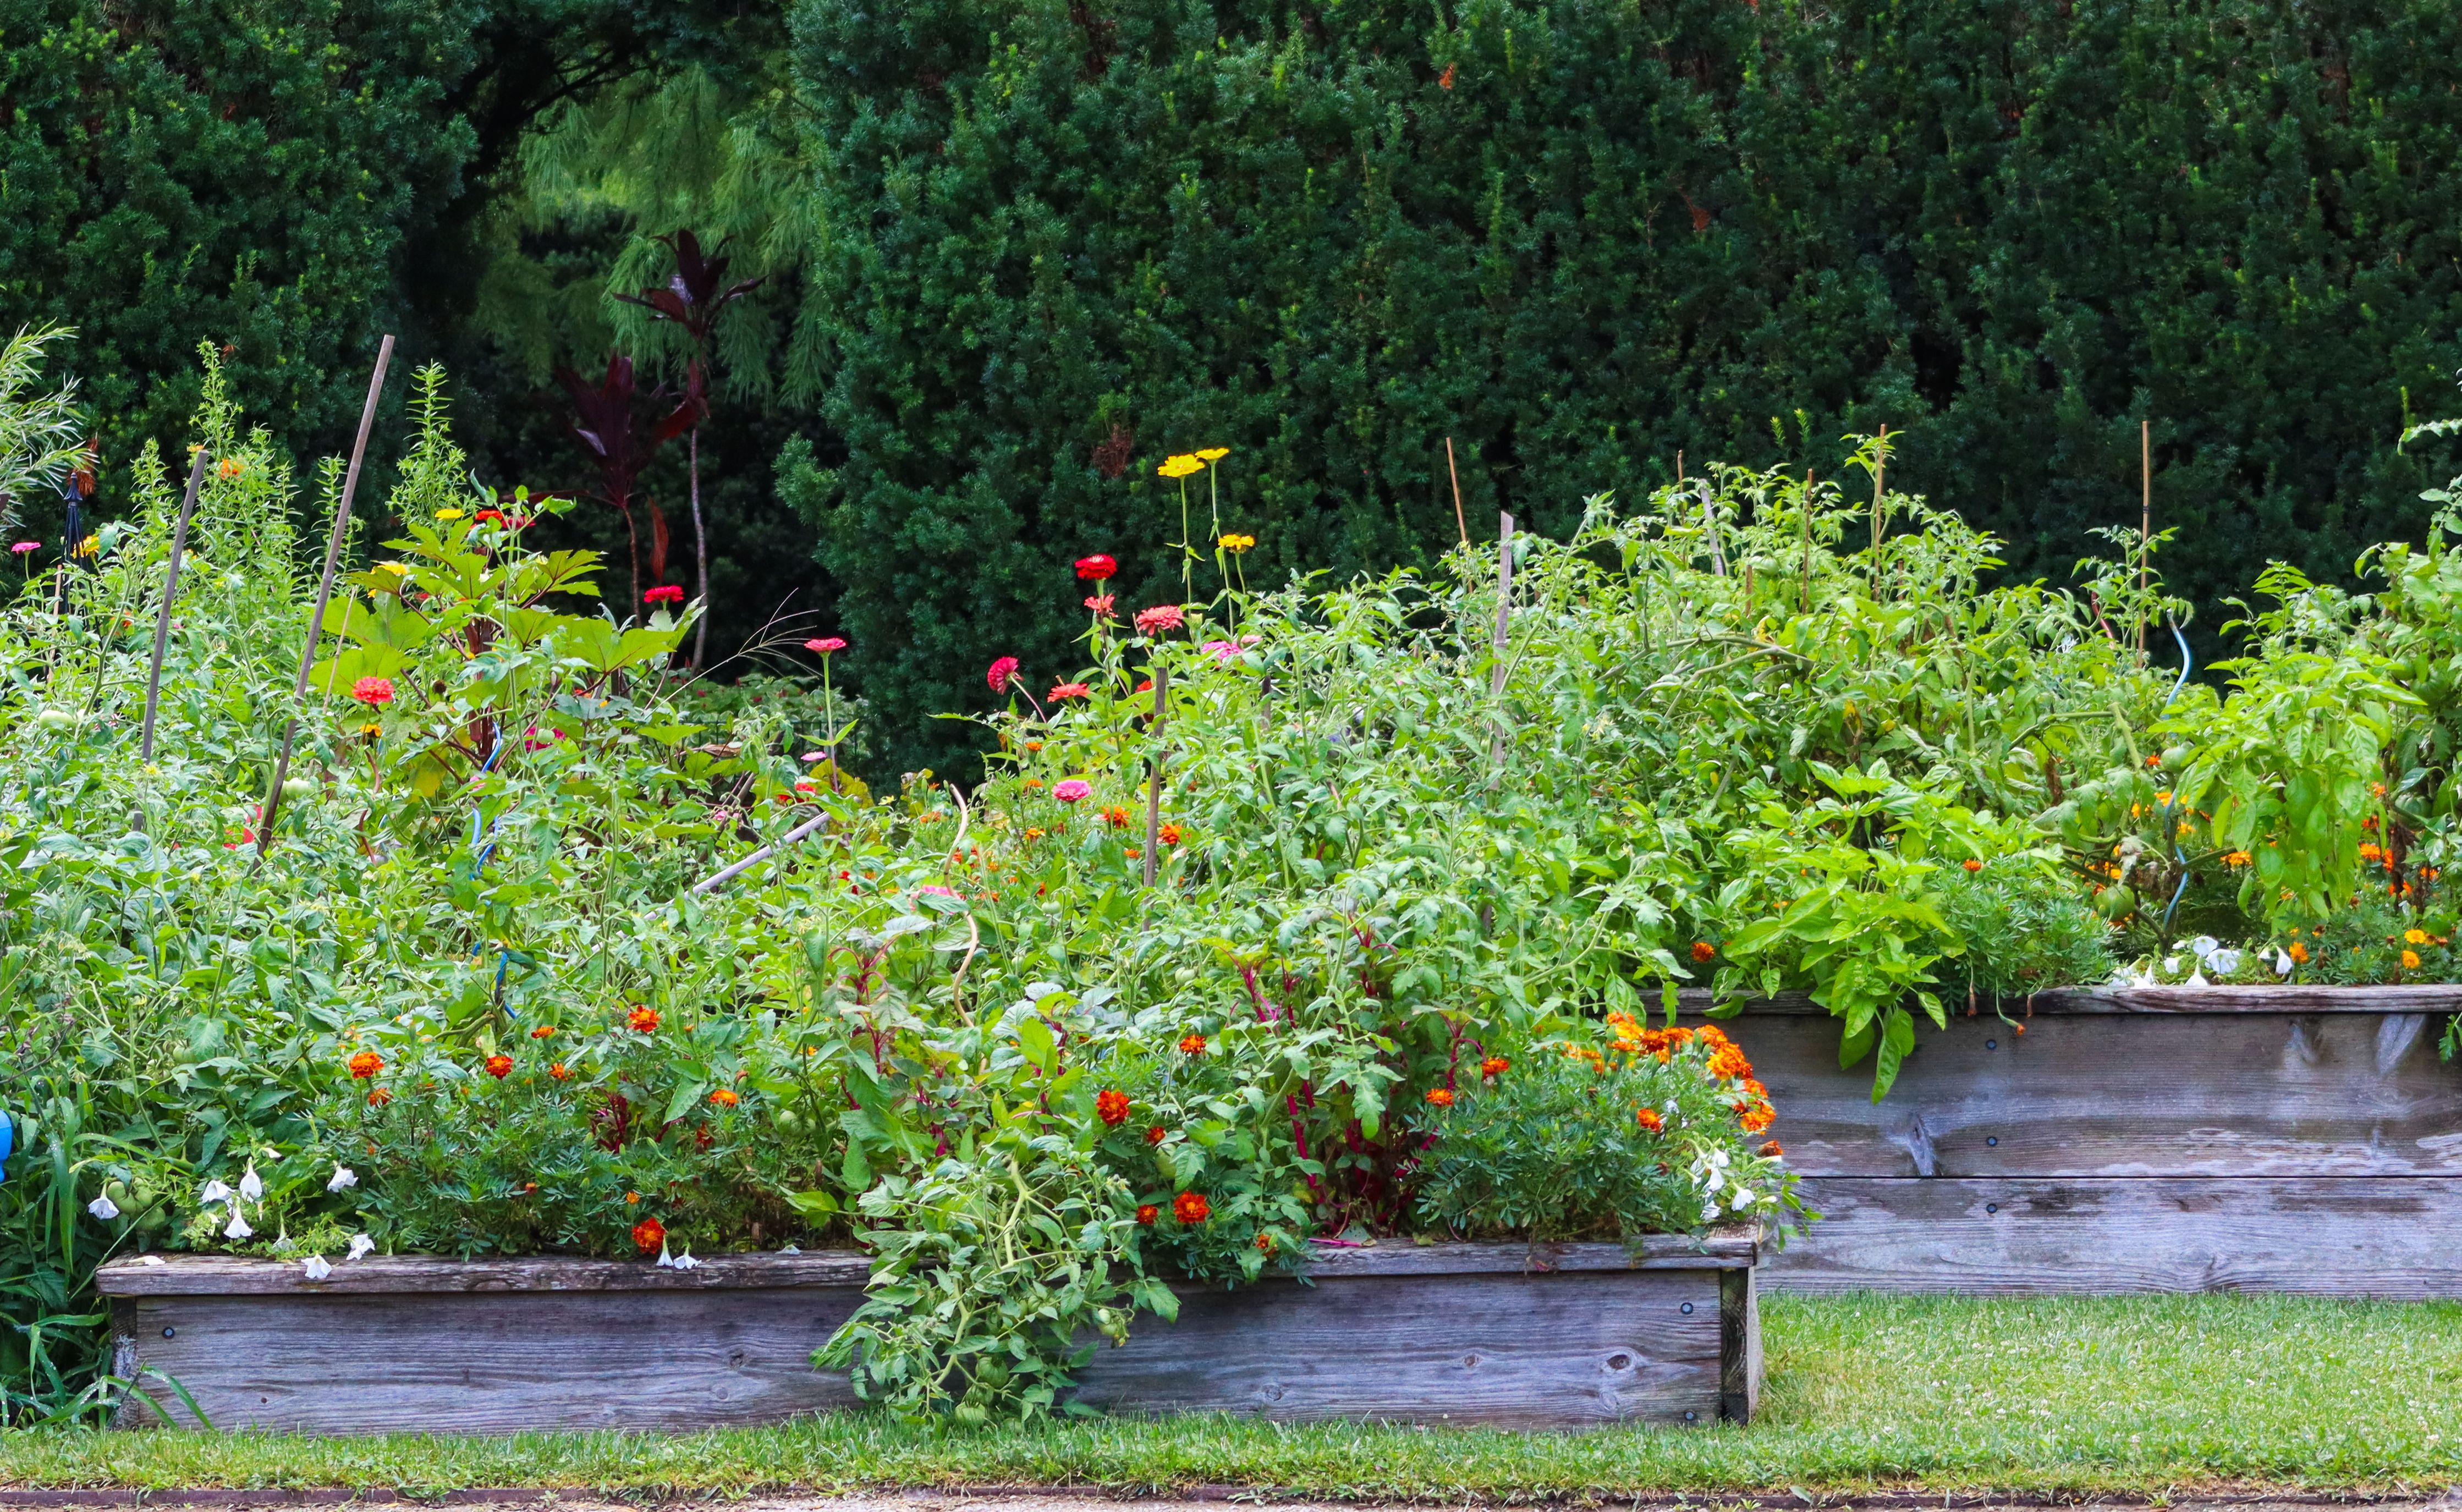
Keep the beds narrow enough to reach without stepping into them. The University of Minnesota Extension advises a maximum width of 2.5 feet when a bed is accessible from one side and up to 5 feet when both sides are reachable. Its guidance also cautions against filling beds with potting soil, which dries too quickly for this use.
- Use one consistent material for bed walls, paths, and nearby edging.
- Leave space for a hose or drip line before planting.
- Use mulch on paths so the garden remains tidy between harvests.
- Choose annual vegetables and flowers for very exposed raised beds in cold climates, since elevated soil can freeze more quickly in winter.
My preference is to make the path the design feature. A simple repeated width looks more deliberate than ornate bed shapes that make mowing and wheelbarrow access awkward.
2. A pergola seating zone that does more than provide a backdrop
A pergola becomes useful when it defines an outdoor room rather than standing alone as a decorative frame. Place it where it can support several activities: morning coffee, evening meals, reading, or a small fire-pit gathering. Add a durable surface beneath it, a place for drinks, and lighting that can be switched independently from the house.
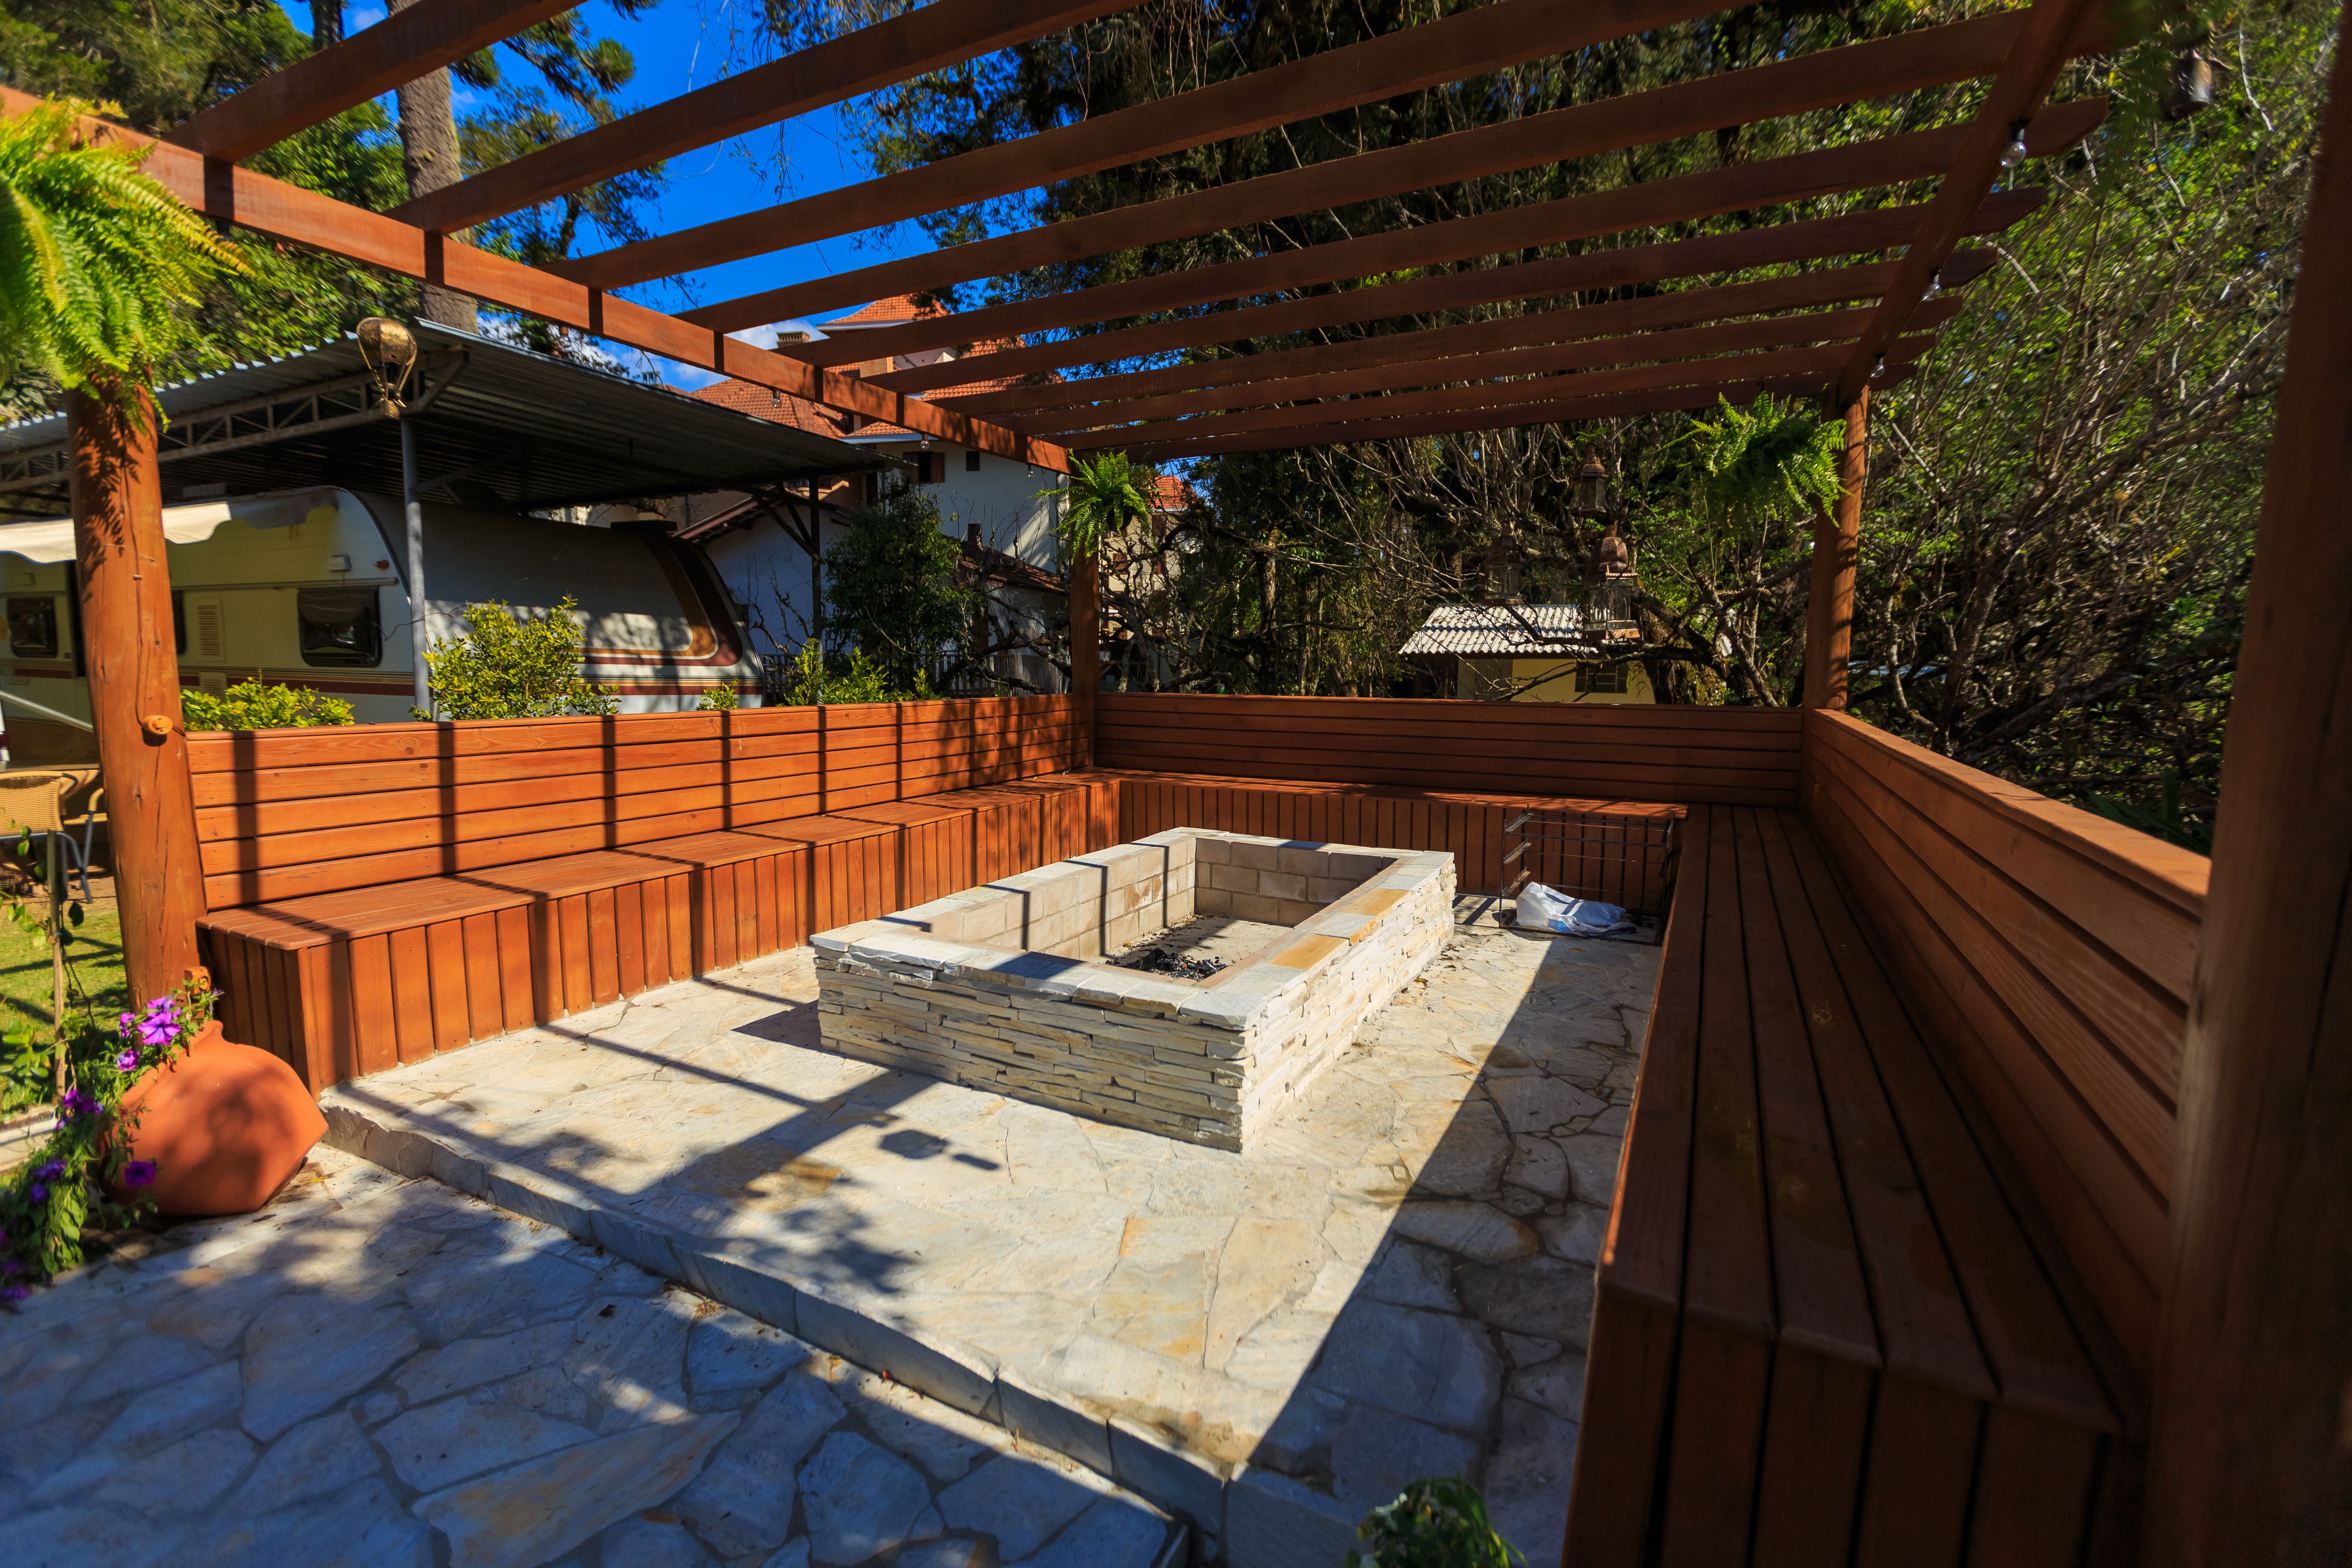
For the practical layer, think in zones:
- Conversation zone: chairs or benches arranged around a clear center.
- Service zone: a narrow shelf, console, or weather-resistant cart for glasses and serving items.
- Movement zone: a direct route that does not require people to weave between furniture.
If you include a fire pit, check local rules and keep the layout generous enough that seating, fuel storage, and walking routes are not competing for the same few feet. The attractive version is rarely the one with the most objects; it is the one where every object has somewhere to go.
3. A rain garden that turns a wet corner into a planted feature
A rain garden is a shallow planted depression that collects runoff and allows it to soak into the ground. The U.S. Environmental Protection Agency’s rain garden guidance describes it as a way to reduce runoff while creating habitat and visual interest.
This project is especially useful beside a downspout, at the lower end of a lawn, or near a paved area where water currently rushes away. Use plants suited to alternating wet and dry conditions, a defined stone or mulch edge, and an overflow route for unusually heavy rain.
Do not treat it as a hole to dig wherever the yard looks damp. The EPA homeowner guide recommends keeping a rain garden at least 10 feet from structures and testing whether water drains from the proposed site. It also recommends checking for utilities before digging. Those constraints are part of the design, not an afterthought.
4. A shed with an attractive front and a hardworking interior
A shed can be one of the most useful backyard upgrades, but only if it is planned around the tools that will live inside it. Start by measuring the lawn mower, bins, ladders, hoses, and long-handled tools. Then add clearance for opening doors and moving items around. A shed that technically fits everything but cannot be accessed is expensive clutter with a roof.
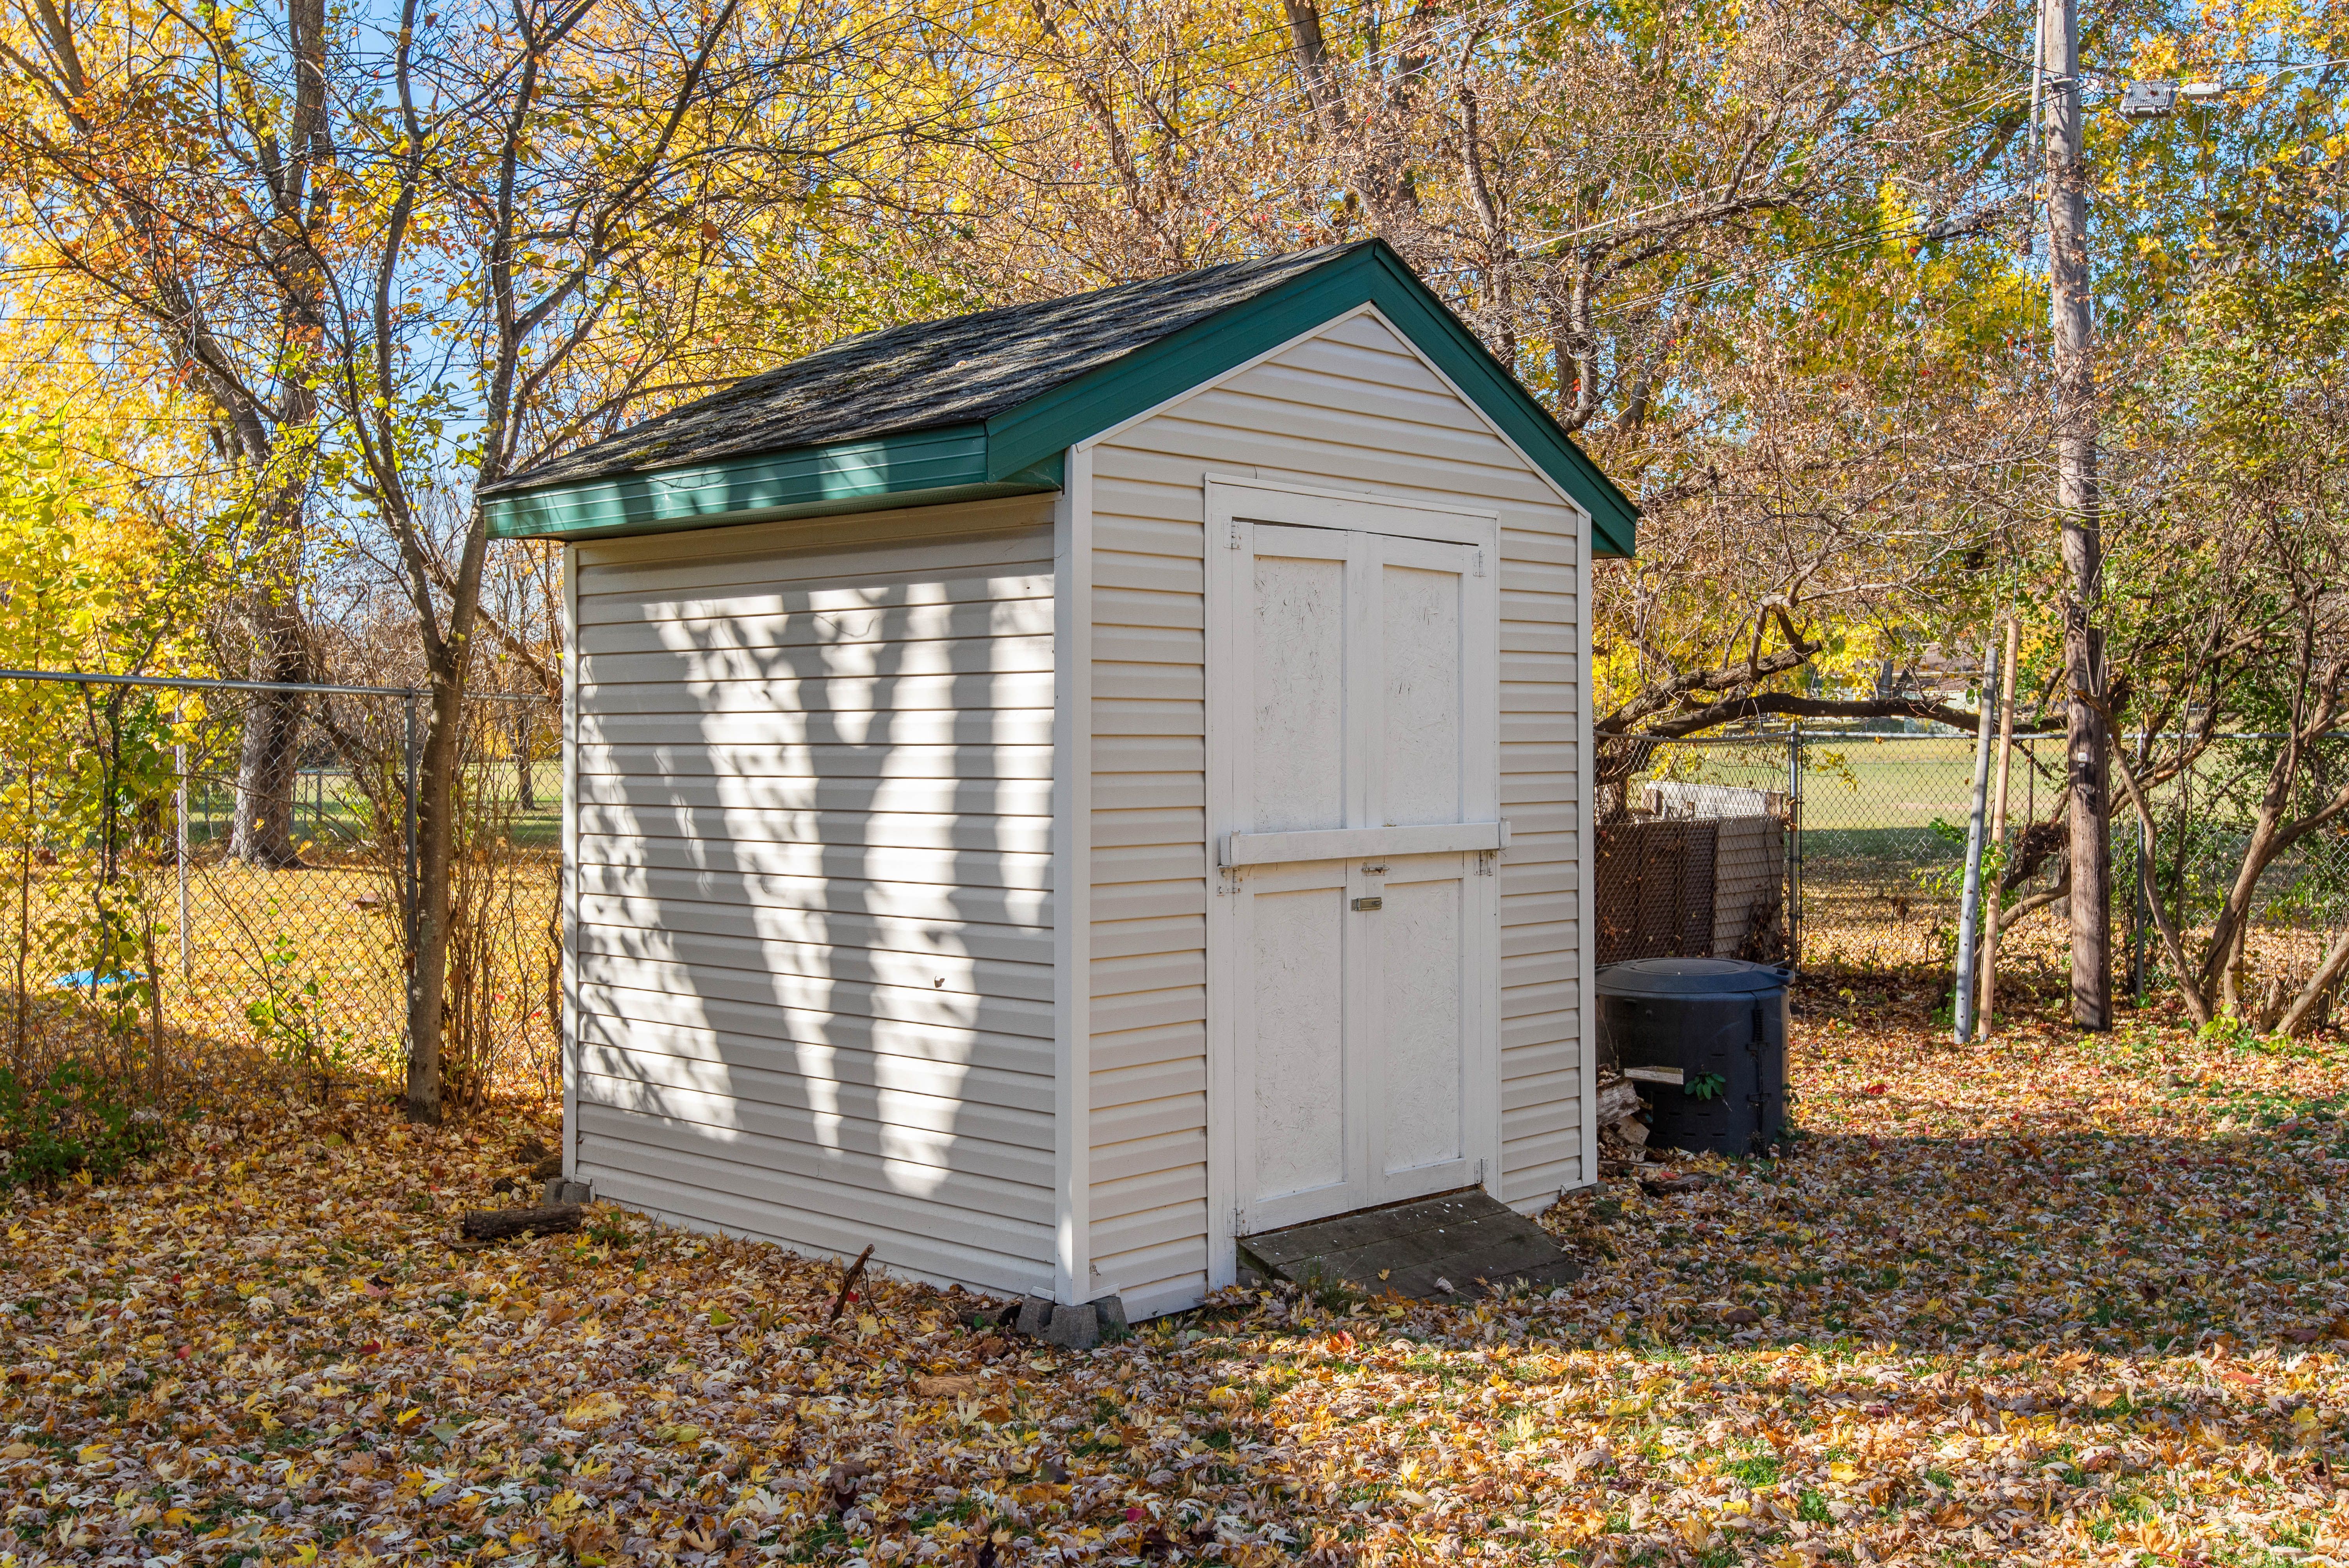
To keep the exterior from looking like an afterthought:
- Repeat a color or material already used on the house, fence, or garden edging.
- Use a simple path that stays firm in wet weather.
- Keep plants low around the door so the entrance remains visible and dry.
- Give frequently used tools hooks near the entrance and reserve deeper shelves for seasonal items.
I would spend more effort on the threshold than on decorative trim. A level, well-drained approach makes the shed feel integrated and saves frustration every time a mower or wheelbarrow goes in.
5. A shade-and-screen planting strip
A planting strip can perform three jobs at once: soften a fence, filter views, and make a seating or dining area more comfortable. Layer it with a taller tree or shrub, medium-height plants, and a ground-level edge rather than using a single dense hedge.
The U.S. Department of Energy’s Consumer Guide to Home Landscaping explains that deciduous trees can provide summer shade while allowing more winter sun after they lose their leaves. It also notes that planting distance and mature size matter, especially near walls, roofs, foundations, and gutters.
For a small yard, a trellis with a suitable vine can provide vertical screening without consuming the same ground area as a row of shrubs. Place the screen where it blocks the unwanted view, not where it simply creates a green wall beside the house. Leave an air gap between mature plants and exterior walls, and choose species that suit the local climate rather than forcing a particular garden style.
Planning measurements that prevent regret
The table below collects a few measurements that change the design itself. They are not universal building rules; they are useful starting points to verify against local conditions, plant sizes, codes, and the construction method you choose.
| Project decision | Starting point | Why it matters |
|---|---|---|
| Raised-bed width | Up to 2.5 ft from one side; up to 5 ft from two sides | Plants remain reachable without compacting the growing soil. |
| Rain-garden location | At least 10 ft from structures | Reduces the risk of directing infiltrating water toward foundations. |
| Rain-garden drainage test | Water should drain from the test hole within 48 hours | Shows whether the site can infiltrate water without redesign or drainage work. |
| Planting beside a wall | Allow at least 1 ft between mature plants and the exterior wall | Preserves access and reduces moisture and pest problems at the structure. |
| Windbreak placement | About 2 to 5 times the mature tree height from the house | Creates space for the windbreak to work without crowding the building. |
Sources: University of Minnesota Extension raised-bed guidance, the EPA’s rain garden homeowner guide, and the U.S. Department of Energy landscaping guide, accessed for this article in October 2026.
A sensible order of work
Build in an order that prevents one improvement from damaging another. First resolve water movement and access. Then install structural elements such as a shed base, seating surface, pergola, or paths. Add soil, beds, irrigation, and planting after the heavy work is finished. Finally add movable furniture, lighting, and decorative details.
A simple sequence is:
- Mark utilities, property boundaries, drainage routes, and mature plant sizes.
- Lay out paths and door swings with stakes or hose before buying materials.
- Complete grading, drainage, foundations, and large hardscape work.
- Install beds, soil, trellises, storage fittings, and irrigation.
- Plant in layers, leaving enough access for maintenance.
- Add furniture and accessories only after the main circulation routes are clear.
What to avoid
The most common mistake is designing for the photograph instead of the routine. A narrow path may look elegant until a wheelbarrow has to use it. A dense planting bed may look lush until the house wall stays damp. A large patio may seem generous until there is no shade, storage, or comfortable place to set anything down.
Watch for these warning signs:
- A project has no obvious daily function.
- Maintenance access depends on stepping through planted areas.
- Water is being hidden rather than redirected or absorbed.
- Materials look unrelated to the house and existing fence.
- The plan assumes plants will remain the size they are on purchase day.
Style does not require extra decoration. Repetition, proportion, a limited material palette, and a clear route through the yard usually do more than a collection of matching accessories.
Frequently Asked Questions
A backyard that works quietly
The best projects do not announce their usefulness. They simply make the hose easier to manage, the vegetables easier to reach, the evening cooler, the rain less destructive, or the garden tools less scattered. Choose one recurring frustration, solve it with a clear shape and durable materials, and let the practical improvement provide the style.