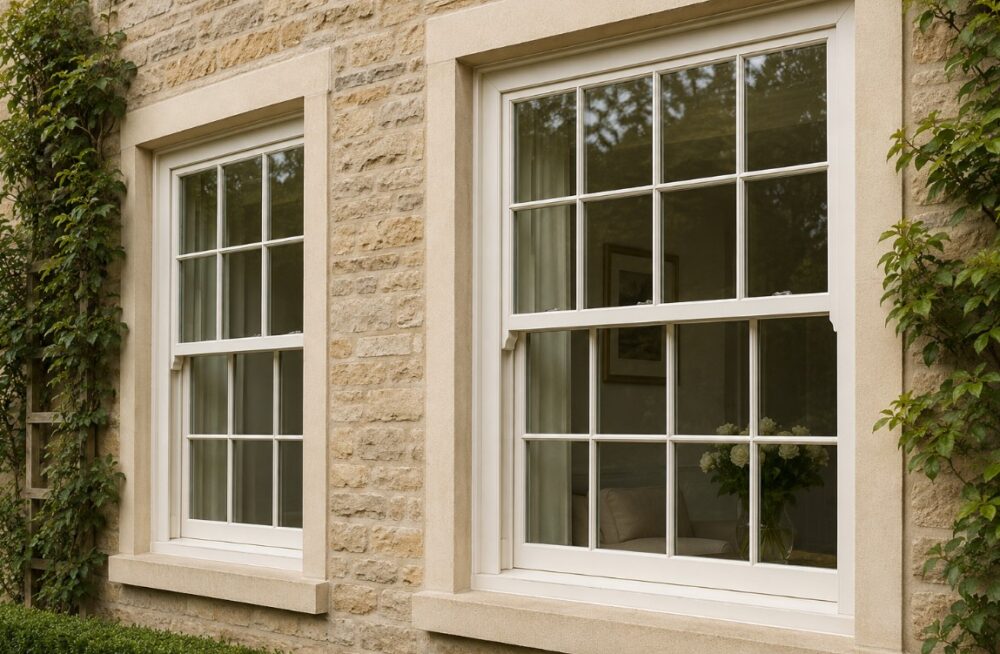
There’s something about a period property that a new build just can’t fake. Walk past a Victorian terrace or a Georgian cottage and you’ll notice it immediately – the proportions feel right, the details have weight, and the windows in particular give the whole facade a kind of quiet dignity. Those sliding timber sashes, with their slim glazing bars and painted frames, are a big part of why older homes look the way they do.
The trouble is, they need looking after. Unlike a plastic casement you can essentially ignore for twenty years, a traditional sash window is a working mechanism made from natural materials. Wood moves, paint cracks, cords snap and pulleys seize up. None of this is a disaster – in fact, most of it is pretty straightforward to fix – but you do have to pay attention.
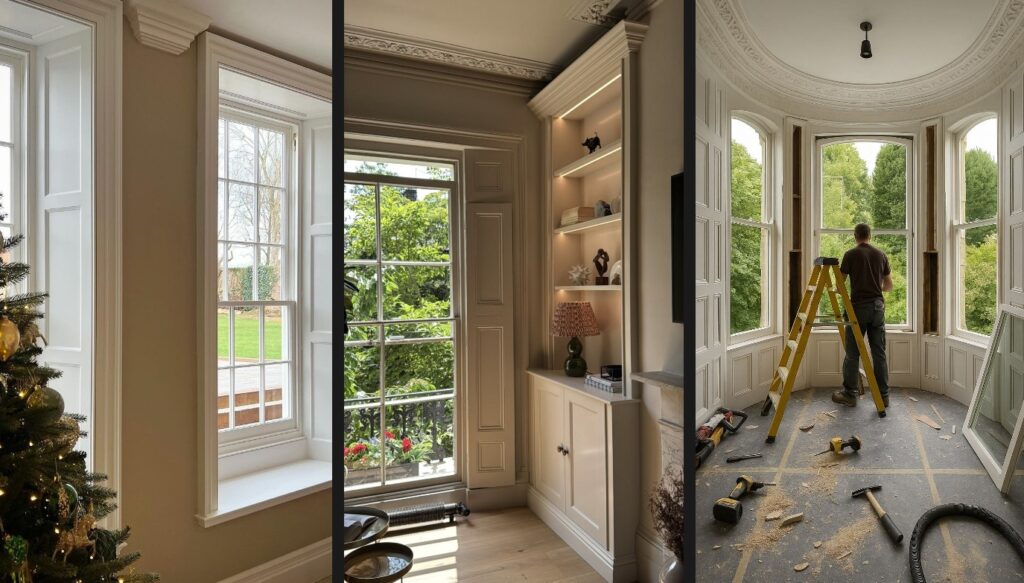
This guide covers the practical side of caring for timber sash windows: what to do yourself, what to leave to someone who knows what they’re doing, and how to get another century of use out of windows that were built to last.
First, understand what you’re dealing with
It sounds obvious, but it’s worth taking a minute to think about how a sash window actually works before you start poking around in it.
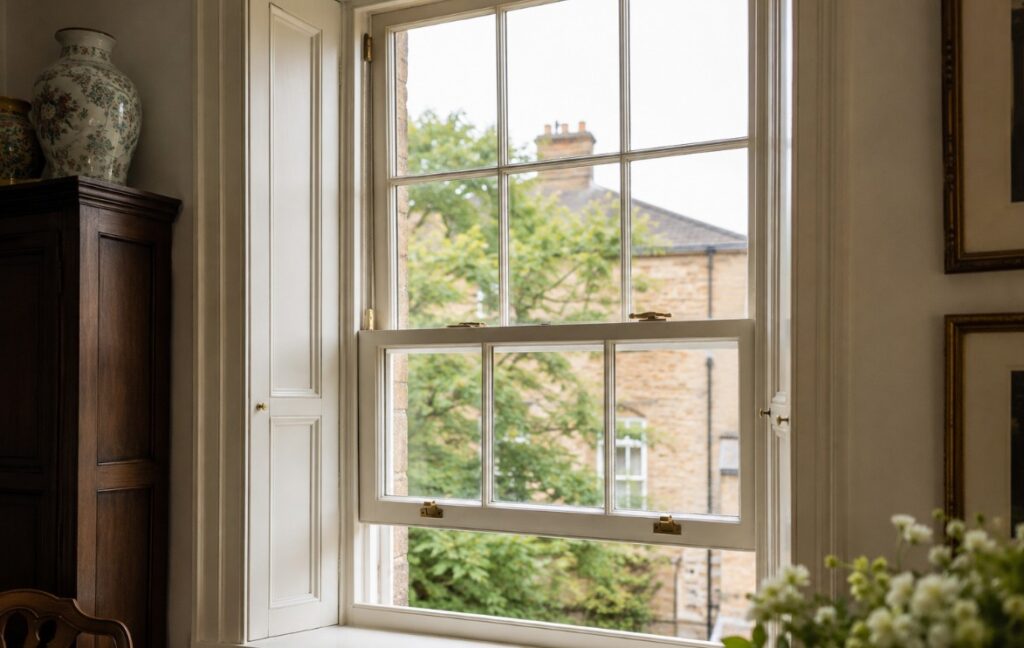
The two sliding panels – the sashes – are counterbalanced by cast iron or lead weights hidden inside the hollow frame on either side. Each weight hangs from a woven cotton cord that runs up over a brass pulley at the top of the frame. Get the cord length right and the sash floats open at any height, held there effortlessly by the weights matching it on the other side.
It’s a beautifully simple system, and when it’s working properly it feels almost magical. When it isn’t – when a cord has snapped or a weight has dropped – the window either won’t stay open or you have to wrestle it up and prop it with a stick like something out of a Dickens novel.
The stuff you can do yourself
Most of the routine maintenance on a timber sash window is well within the reach of any competent DIYer. You don’t need specialist tools, just patience and a willingness to take your time.
Dealing with a painted-shut window
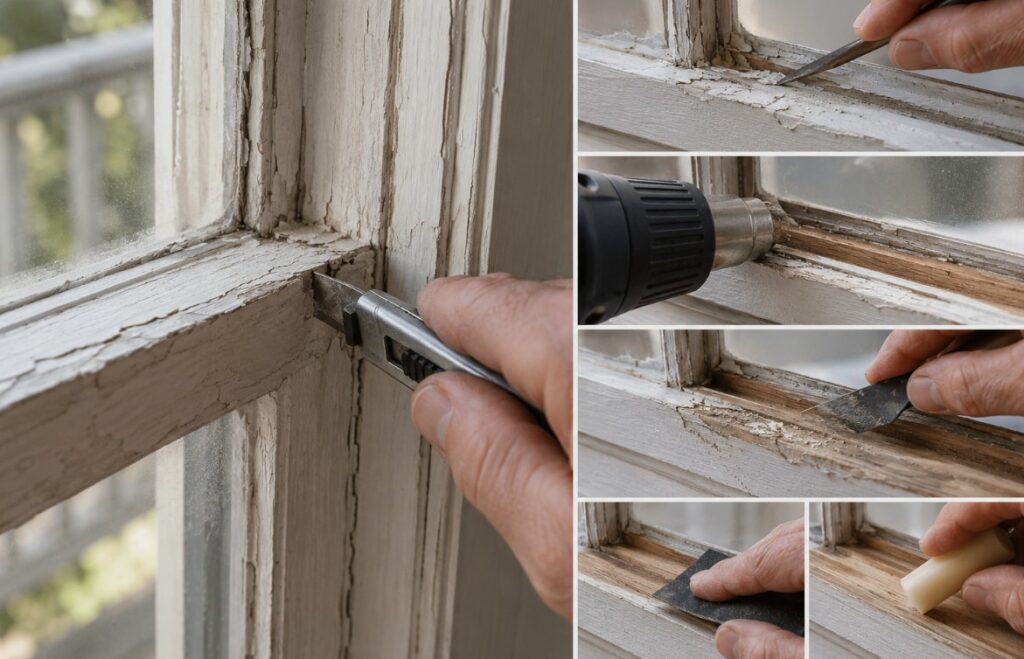
This is probably the most common problem you’ll encounter, especially on houses that have changed hands a few times. Every new owner repaints, and over the years the paint builds up in the channel until the window is effectively glued shut.
Don’t force it. You’ll either crack the glass, break the cord, or split the timber – often all three. Instead, run a utility knife or a thin paint scraper along the join between the sash and the frame to break the seal, then work around it until it starts to move. Once it’s freed up, strip back the excess paint from the running channels with a heat gun or scraper. The goal is to get back to bare wood, sand it smooth, and then rub a bit of beeswax or even a candle along the edges. You’ll be amazed at the difference.
Sorting out the putty
Traditional single-glazed sash windows use linseed oil putty to hold the glass in the rebate. It works brilliantly for decades, but eventually it dries out, shrinks, and cracks. When it goes, rainwater gets into the joint, the timber starts to soften, and the glass begins to rattle.
Check the putty every year or two, ideally in spring. Look for sections that are pulling away from the glass or have crumbled entirely. Dig out anything loose with a putty knife, clean the rebate, and press in fresh putty using a broad, firm stroke at about 45 degrees. Let it firm up for a few days, then paint over it to seal it before winter arrives.
Keeping on top of the paintwork
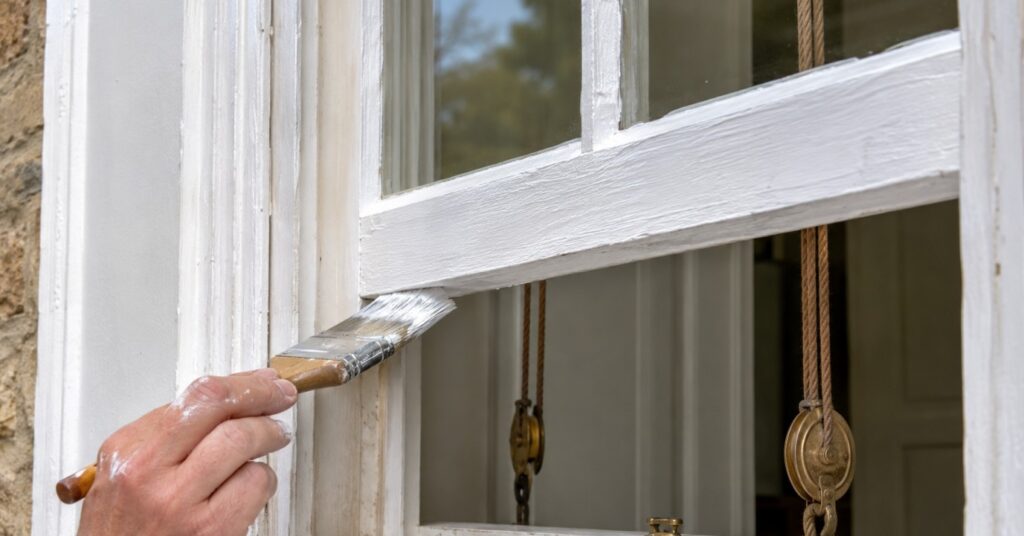
Timber can last for hundreds of years if it’s properly protected. The paint isn’t decorative – it’s the waterproof barrier between your wood and the weather. Let it fail and you’re on the road to rot.
The exterior faces of the sashes and the frame need repainting every three to five years, or sooner if you notice cracking or flaking. Use a good quality exterior wood paint and make sure you get into the joints and the underside of the bottom rail, which tends to get missed and is exactly where moisture likes to collect. One thing to watch: don’t paint over the cords or the pulleys. It takes about thirty seconds to ruin a perfectly good cord with a careless brushstroke, and replacing it means dismantling the whole frame.
Drafts, rattles, and the energy efficiency question
Old sash windows have a reputation for being drafty, and it’s not entirely undeserved. The small gaps that allow the sashes to slide also allow cold air to creep in. On a windy night, you’ll know about it.
What a lot of people don’t realise is that you don’t have to replace the windows to fix this. Draft-proofing is a well-established technique that involves fitting slim brush seals and compression strips into the channels and around the meeting rail – the horizontal join in the middle where the two sashes overlap. Done properly, it dramatically reduces air infiltration, eliminates the rattling, and makes a noticeable difference to the noise coming in from outside. It’s not as flashy as new double glazing, but it’s reversible, it preserves the look of the window, and it costs a fraction of the price.
When rot gets involved
Wet rot in sash windows is common, and finding it doesn’t automatically mean you need a new window. The bottom rail of the lower sash and the window sill are the usual victims — they’re where water sits, where paint tends to fail first, and where end grain is often exposed.
If the rot is still soft and localised, you can treat and repair it yourself. Dig out the decayed material, treat the surrounding wood with a hardener, and fill the void with a two-part epoxy resin filler. Once cured, you can shape it with a rasp and sand it to match the original profile. Painted over, it’s indistinguishable from the real thing and harder than the original wood.
Where it gets more serious — where the rot has gone deep into the joints or spread along the sill — you’re into structural timber repairs. This needs proper joinery skills to cut out and splice in matching timber sections. It’s doable, but it’s not a weekend project for someone without experience.
Knowing when to call someone in
There are a few jobs where the sensible move is to put the DIY hat down and bring in a professional. Replacing sash cords is the big one. It sounds simple enough — just swap the cord, right? — but it involves pulling the staff beads off the frame, removing the sashes completely, opening the weight pocket to retrieve the counterweights, threading the new cord over the pulley, and reassembling everything in the right order. Do it wrong and the weights drop inside the frame cavity, and getting them out again is a genuinely miserable job.
Significant timber repairs, as mentioned above, also warrant professional help. And if you’re thinking about upgrading to slim-profile double glazed units — which can be retrofitted into existing timber sashes — that’s a job for a specialist. The heavier glass throws the counterbalance off, so the weights need recalculating and in some cases replacing entirely.
For anything beyond basic maintenance, working with an experienced Sash Window Installer means the work gets done properly, the historic character of the window is respected, and you’re not creating problems for yourself further down the line.
Worth the effort
There’s a tendency to assume that older windows are a liability — leaky, inefficient, expensive to maintain. In reality, a well-maintained timber sash window is a remarkably durable and elegant thing. Many of the ones still in use today are well over a hundred years old and working exactly as they were designed to.
The key is regular attention rather than occasional crisis management. Check the putty in spring. Repaint on schedule. Listen for rattles and deal with them before winter. Do that, and these windows will outlast most of what’s being installed in new houses today.