I poked around on the internet for the best types of materials to use but it wasn’t until I dawdled a Sunday away at Micheal’s did I find this super star product! Please read on and I hope you give this one a try…
While this tutorial is mostly about drawing on porcelain it is also about how to transfer an image or lettering on to another surface. Brace yourself, this brings back skills you used in elementary school! Enjoy!
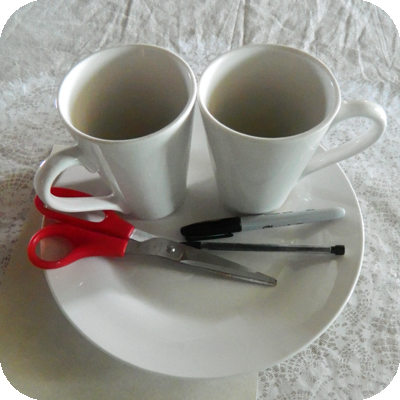
What you will need: card stock, ceramic mugs, plates or bowls ( I picked mine up at the Dollar Tree, don’t waste your good china on this one till you get the hang of it!), scissors, a pencil and most important of ALL
An OIL BASED SHARPIE MARKER
yes Sharpie! This has got to be one of my new favorite products! On all the tutorials I read about drawing on ceramic or porcelain, people complained of translucent and runny ink. Well that is not the case with this bad boy in your arsenal.
You can pick up yours HERE

Start out with an image that you want to transfer. You can use a magazine or book page or you can print something off the internet. I just sketched the lettering I wanted to use. I should have printed it off my computer but alas I was out of printer ink! This still works

Cover the back of the image you want to transfer with a pencil. Rather heavy is better
I trimmed out the images so they were easier to handle

Hold securely onto the plate, cup or plate you are decorating
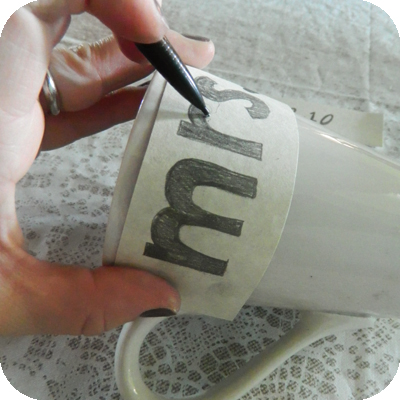
Take your pencil and trace around the perimeter of the image
Here you can see the image has been lightly transferred!
I carefully traced the outline with the oil-based sharpie

Then fill it in. I was surprised that it went on just like how I expected… perfect! TIP: The paint takes a little to dry to be careful not to smudge, but if you mess up you can wipe the paint off if you do so before it dries. About 5 minutes or so

Continue on with your tracing
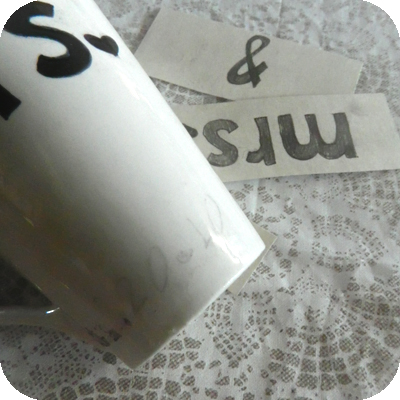
Here you can see the light transferred image

You will see that I actually wiped off part of the design and started over on the center design of one of the mugs. Hey we all make mistakes!
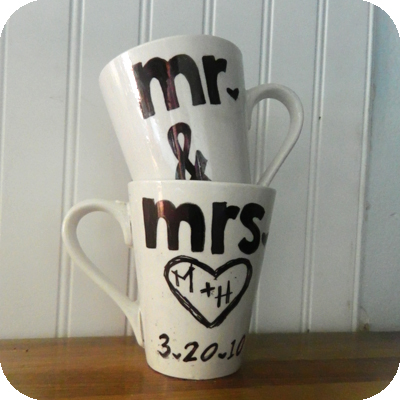
Here are my mugs! Or my hub’s mugs. They are in honor of the tree he carved for me on our avocado farm. I really like how they look being stacked up. They are by no means perfect but I love the handmade quality of them… and they only cost a few bucks!

I went on and drew on a plate. I just free-handed this one. I think it will hold some goodies for me on my vanity.
Easy right?! Hope you enjoyed this tutorial, please let me know how yours turn out. Thanks for stopping by!