Here is a quick & quirky DIY. Perfect for a nursery/studio/pic wall ect ect ect….. So really it is good for just about any place. Takes just a few minutes… here we go!

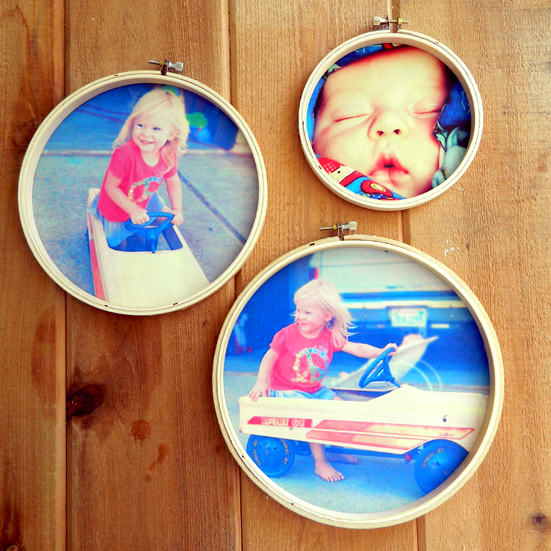
Tips and pointers: Ok so you gather up some embroidery hoops (I picked up mine at Hobby Lobby, they really have jumped on the embroidery hoop bandwagon selling them for only a few dollars) a pen/pencil some scissors and some craft glue. Print off some pictures, 8.5×11 works best.
This size will fit a variety of sizes of hoops. Lay the hoop on top of your picture and center what you want to display, trace around the outside of the hoop. Trim out the circle, apply some glue to the hoop (both hoops) and press the picture onto it. Trim off any edges if they show. Also, make sure that the hoop hardware is at the top of the pic, this makes it really easy to hang from a nail or tack.
That is it.
Are you ready for the weekend? I sure am. My birthday is tomorrow… Holla! Not that we have anything special planned… seems like after your 16th, 21st, and 25th birthdays it is all downhill. Maybe 30 will be special, but I am still in no man’s birthday land right now. Bottle-o-wine is calling my name.