Lighted signs or aka Marquee signs are all the rage now. Well at least on Pinterest and craft sites. Here, let’s take a moment to look at some eye candy.

(Gorge!)

(Almost a GRAND for this one!!!)

(Really? One letter for $215? Hummmm I love it but that is pretty rich, which I’m not)
Most of the DIY versions are overly involved cutting, gluing, drilling, sawing, spinning, crocheting, magical potions…. ok, maybe not those last three. But in general all the DIY versions I saw were either expensive or just looked like a pain in the heiny to make.
Plus I had a really hard time sourcing those round bulb strand of lights (But on the other hand I have TONS of twinkle lights… CURSES!!!) I tried to make mine as easy and inexpensive as possible (using twinkle lights).
The cardboard letters are from hobby lobby and I picked them up for a dollar each (on sale), all other materials I had on hand. Each letter took me less than 10 minute to create.
So how’s that for inexpensive and easy….
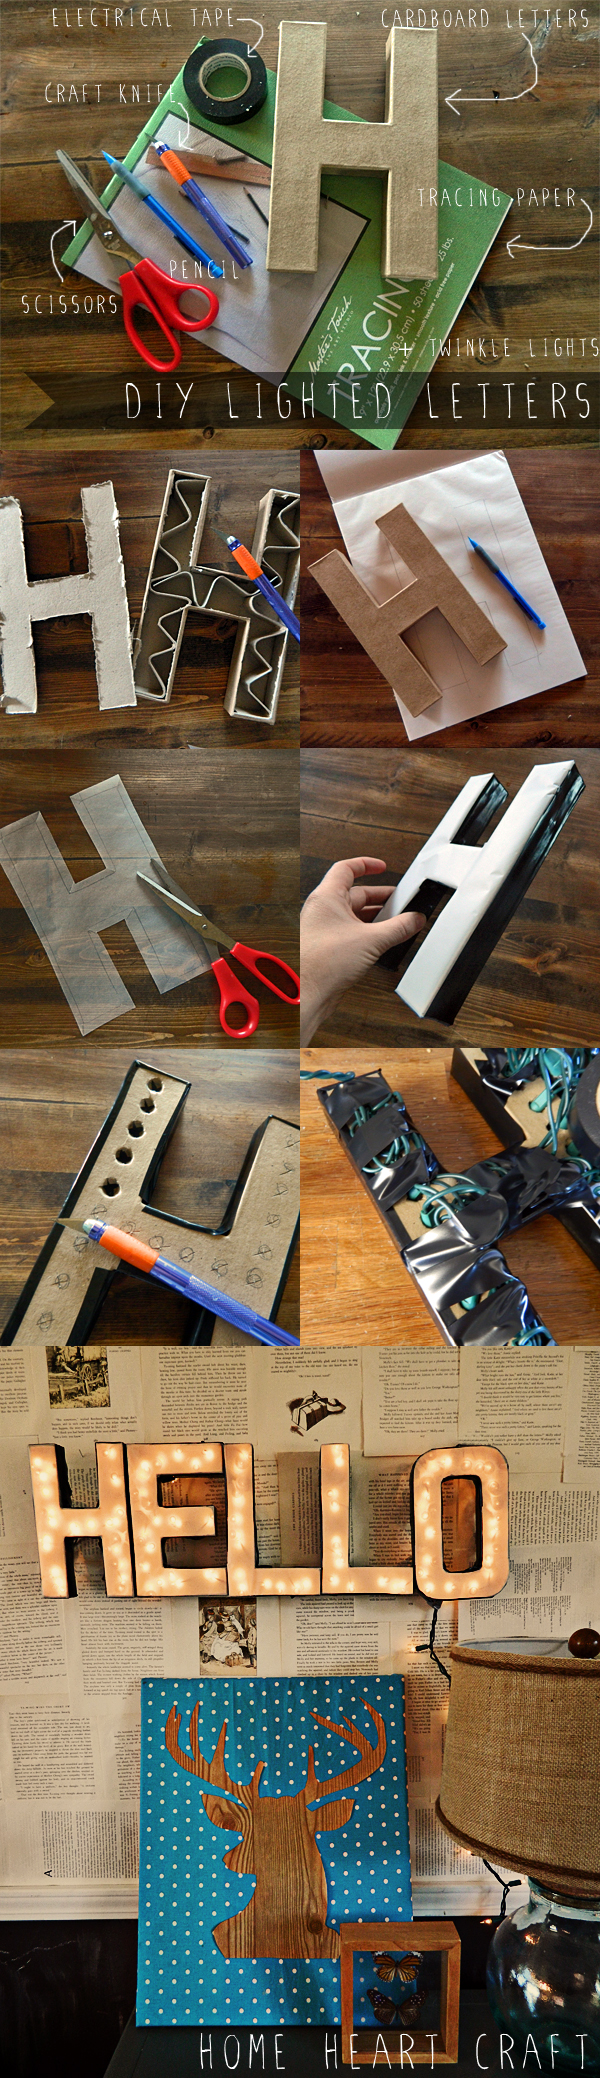
Let’s take a look at how I made this lighted letter sign, tips and tricks to follow…
BOOM-Shaka-laka! Take THAT!!! sign for sale that costs almost as much as a car…
Hummm…. Ok Honor, take a moment….
Obviously, this version is not as grand as those exposed bulb metal ones, but it is still pretty dang good for 10 minutes, some tape and a strand of twinkle lights. Here is how I did it:
- Carefully cut off the face of the cardboard letter and remove the guts
- Trace your letter (face down) on the tracing paper and cut it out leaving a 1/4″ to 1/2″ margin to tape. Snip in the corners to ease folding and taping.
- Using tape in your desired color (electrical tape comes in other colors, I only had black on hand), tape down the tracing paper. Cover the rest of the exposed cardboard with the tape
- Using your craft knife, cut x’s into the back. Press the butt of a pen into the x to create a round opening.
- Shove in the twinkle lights and tape in place. Be careful not to push the lights in too far so that it punctures the tracing paper.
- The back will look like a hot mess of wire, lights and tape. Just try of corral it as neatly as possible.
- Tape your letters together for strength
- To hang the sign I pounded in a couple of nails and wrapped some of the exposed twinkle lights around them. It didn’t bother me, but the twinkle lights will be exposed on the part of the strand that goes to the plug.
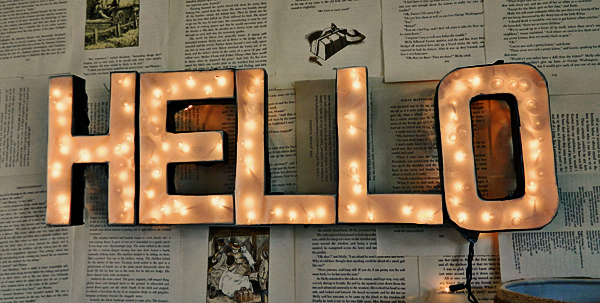

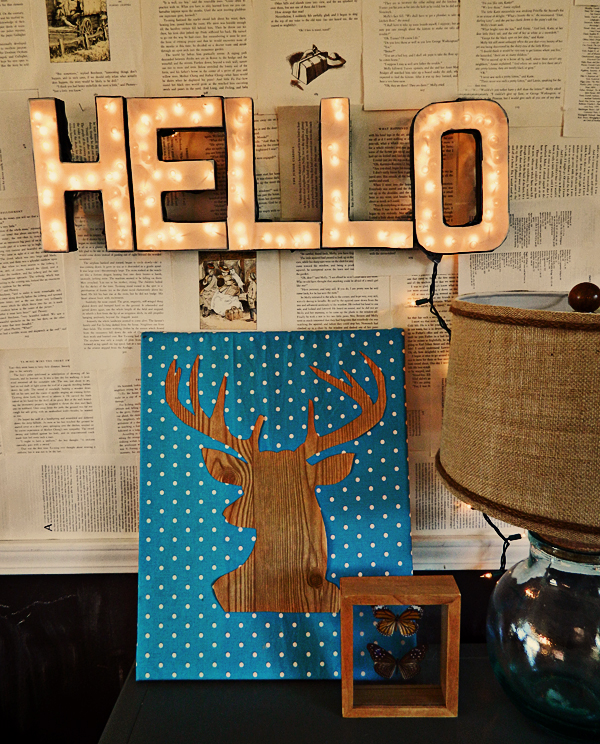
HELLO!!!!!
Any ideas for other words? I’m kinda over the usual LOVE, FAMILY, Names etc.
Some chocolate chip ice cream followed by a swig of peanut butter is on the agenda for me right now while I gawk at my TV bf Timothy Olyphant.
Read Also: Wax Paper Pressed Flowers